
A food factory metal detector is a mandatory quality control device under HACCP standards, helping detect metal contaminants (iron, stainless steel, aluminum) in products before packaging. The correct installation procedure directly affects detection sensitivity and equipment lifespan — a small error in positioning or electromagnetic interference can reduce the detection rate from 98% to 60%. This article provides a detailed 5-step implementation guide, from site survey to actual operation, for Vietnamese food business owners.
What is the metal detector installation procedure?

The food factory metal detector installation procedure is a series of technical steps from site survey, layout design integrating the conveyor belt, mechanical & electrical installation, sensitivity calibration, to operation and periodic testing. The goal is to ensure the machine detects metal contaminants of minimum size (typically 0.5-1.5 mm Fe, 1.0-2.5 mm SUS) without causing false alarms or missing products.
Unlike handheld metal detectors used for security, industrial metal detectors for food factories operate on the principle of balanced coil or multi-frequency. The equipment is typically integrated directly into the product conveyor belt, requiring an installation environment with no significant vibration, low electromagnetic interference, and a minimum safe distance of 30-50 cm from fixed metal structures.
Step 1: Site survey and installation environment assessment
Related Products


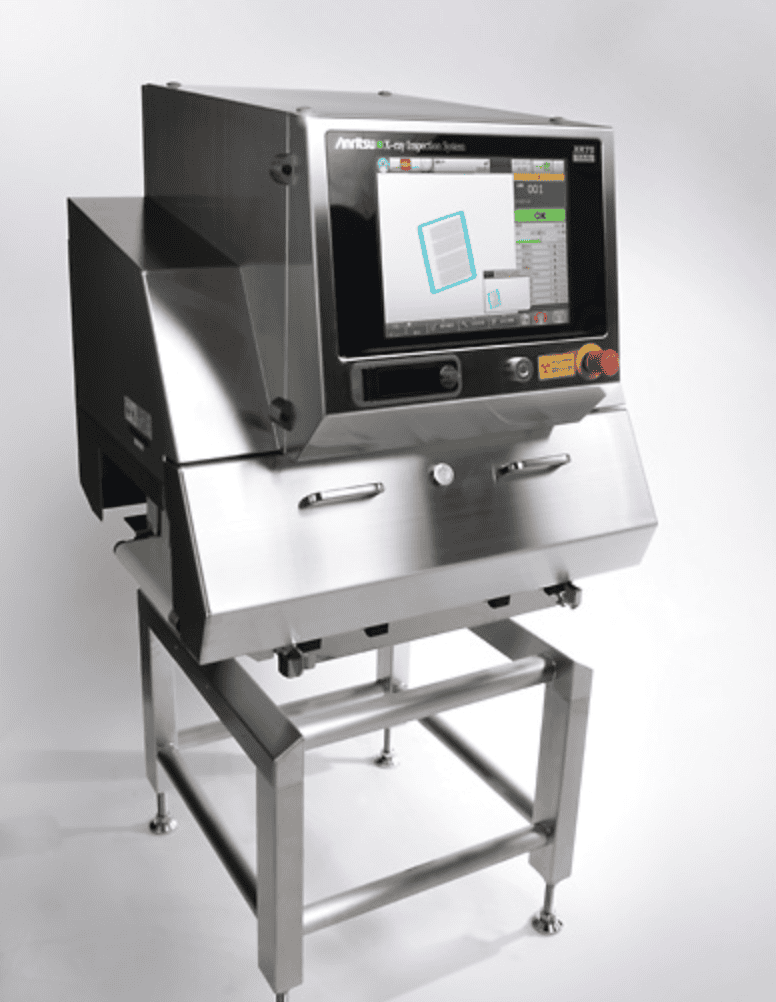


Site survey is the first and most important step, determining up to 70% of the installation success. The technician needs to measure space, identify electromagnetic interference sources, assess background vibration, and check the existing electrical system.
Specific factors to check:
- Distance from metal structures: The metal detector needs to be at least 0.5-1 m away from walls, steel columns, and adjacent conveyor belts to avoid signal interference. If the factory has dense steel structures, additional magnetic shielding may be required.
- Electromagnetic interference (EMI) sources: Check distance to inverters, high-power motors, welding machines, and microwave ovens. Minimum safe distance is 2-3 m. If not met, install EMI filters or relocate equipment.
- Background vibration: Measure vibration using specialized equipment. The permissible threshold is typically below 0.5 mm/s (per ISO 10816 standard). Excessive vibration will cause continuous false alarms.
- Electrical system: Check for stable power supply (220V ±10%), standard grounding wire (resistance < 4Ω). Phase loss or voltage drop can distort detection results.
Real-world example: At a seafood processing factory in Can Tho, the technician found the existing conveyor belt vibrating at 1.2 mm/s due to a worn pulley. After replacing the pulley and rebalancing, vibration dropped to 0.3 mm/s, and the metal detector operated stably with 0.8 mm Fe sensitivity.
Step 2: Layout design and installation position selection

Based on survey results, the technician designs a layout integrating the metal detector into the production line. The optimal installation position is typically after the final processing stage and before packaging, where the product is shaped and less prone to deformation.
Position selection principles:
- After cutting/slicing machines: If placed before, metal fragments from cutting blades could fall into the product after detection.
- Before packaging machines: Ensures the product is inspected before entering packaging, avoiding wasted packaging when contaminants are detected.
- Isolated from other conveyors: Do not place parallel or overlapping with conveyors carrying metal products (e.g., stainless steel trays).
- Appropriate height: The height from the conveyor belt surface to the detector coil must ensure the product passes through a uniform magnetic field (typically 10-20 cm depending on machine type).
In practice, many Vietnamese food factories choose to install Mettler Toledo Safeline series metal detectors due to their good noise immunity and easy integration. The layout typically includes a 1-2 m long infeed conveyor, detection zone, and outfeed conveyor with a reject mechanism (reject arm or air blast).
Step 3: Mechanical installation and electrical wiring

After the layout is ready, proceed with mechanical installation: secure the detector to the conveyor frame, align height and parallelism, and connect power and signal cables. This step requires experienced mechanics familiar with quality control equipment.
Detailed installation procedure:
- Secure the detector: Use M10-M12 bolts, tighten with 40-50 Nm torque. Ensure the machine does not shift during operation.
- Align the conveyor belt: The belt must pass through the center of the detector coil, with a maximum deviation of ±2 mm. Use a laser ruler to check.
- Electrical wiring: Use cable 3×1.5 mm² or larger, with a dedicated ground. Do not share the power source with inverters or starting motors.
- Signal wiring: Connect signal cables from the detector to the PLC or control panel. Use shielded cables and avoid running parallel to power cables.
- Safety check: Measure insulation resistance (> 1 MΩ), check for leakage current, ensure emergency stop switch works.
A common mistake is sharing a ground connection with other equipment, causing ground loop interference. Solution: use a dedicated ground rod for the metal detector, isolated from the power system.
Step 4: Calibration and sensitivity testing

Calibration is the step that determines the accuracy of the metal detector. The technician uses test pieces with standard sizes and materials (Fe, SUS, Al) to set detection thresholds. The 8-point or 24-point testing procedure per manufacturer recommendations is a mandatory standard.
Calibration steps:
- Select test pieces: Use a test piece set per HACCP or FDA standards. Common sizes: Fe 0.8 mm, SUS 1.2 mm, Al 1.5 mm.
- 8-point test: Place the test piece at 8 positions on the conveyor belt (4 corners + 4 mid-edge points), run 3 times per position. The machine must detect 100% of the time.
- 24-point test: Expand to 24 positions (along the belt width, evenly divided into 6 rows × 4 columns). More stringent requirement for factories with BRC or IFS certification.
- Set threshold: Adjust sensitivity to detect the test piece but not cause false alarms with real products. Typically choose a threshold 10-20% lower than the minimum test piece size.
- Record results: Save the calibration log, including date/time, operator, results for each point, and confirmation signature.
Example: With a Mettler Toledo Safeline metal detector, the 8-point test takes about 15-20 minutes, while the 24-point test takes 45-60 minutes. Food factories need to perform shift-start testing and after each product change.
Step 5: Trial operation and staff training

After calibration, run a trial with real products for 1-2 production shifts. Monitor the false alarm rate, conveyor belt speed, and signal stability. Simultaneously train operators on shift-start testing procedures, handling alarms, and basic maintenance.
Training content:
- Shift-start test: Operators must perform an 8-point test with the standard test piece set before starting production. Record results in a logbook.
- Alarm handling: When the machine alarms, stop the conveyor, remove the rejected product, inspect with a handheld detector, and record information (product code, time, contaminant type).
- Daily maintenance: Clean the detector coil, check the conveyor belt for misalignment, retighten bolts if needed. Periodic maintenance every 3 months includes checking resistance, replacing lubricant.
- Common troubleshooting: False alarms due to moist products, conveyor interference, or lost test pieces. Guide on how to reset the machine and contact technical support.